
Welcome to the Pages In Time Interactive Blog Hop! We call it an “Interactive Blog Hop” because you do more than read a blog, you actually get to create a layout along the way! At each stop you will collect steps for completing a layout!
The Interactive Blog Stop starts at the Pages In Time blog with the Pages In Time Weekly Sketch. From there, you will hop from blog to blog to collect the steps to create your layout! You should have arrived here from Jessie's Blog where she showed you how to make one cool flower. If you stumbled upon the hop by accident, please play along (just make sure you hit all the blogs)!
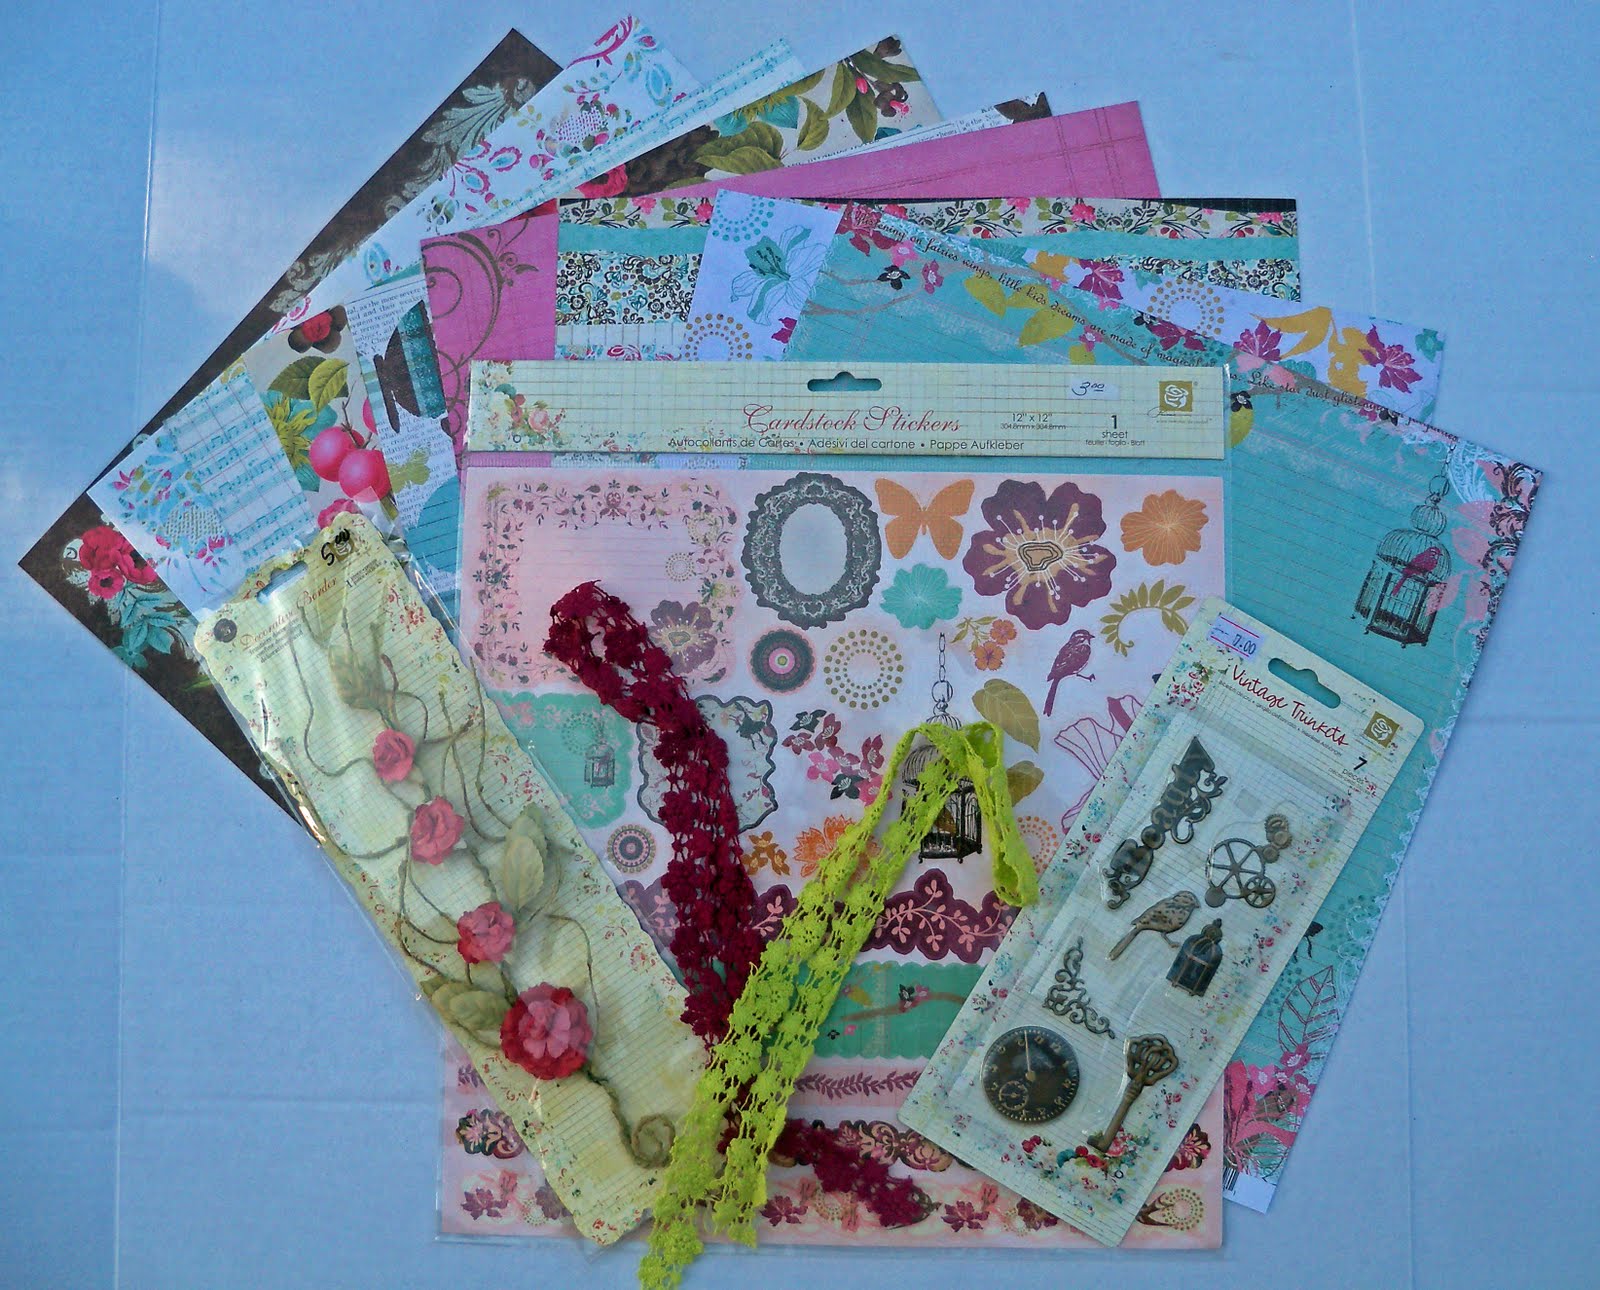
The step you are collecting from me is adding bling. I'm going to walk you through adding faux bling and with a little creativity I think you can see you can make the bling with about anything. I love the beautiful bling that scrappers incooperate on their page soI ran out and bought the latest and greatest products Smooches so I could make by own blingy pages. Here's my dilema: I don't trust myself to just apply random dots perfectly to a page.
I heard and read and did some research on faux bling. Go ahead run in through google and you'll find plenty of hits- mostly someone try to sell their rendition of faux bling. I personally love transparency and a dimension fabric paint. Bad part is fabric paint in not acid free...good thing it goes ON the transparency.
Well what do you do if you don't have transparencies? Look at all your package wrap and ask yourself if it would work in place of the transparency. I saved the box my son's chocolate bunny came in to use as faux bling. I also used sheet protectors and that's a great alternative because they are cheap and you can create on double the space.
Then decided on your flourish style. You can photo copy store bought flourishes, use any cool flourishes you have in your stamp collection, find interesting patterns on the Internet, or make your own designs.
Simply slide your design inside your sheet protector, lay your transparency or packaging material over it and make the dots.


Now, if you don't have liquid pearls, smooches, or fabric paint, you could consider paint or permanent markers. Have fun bling. When it dries cut carefully and closely around your pattern. The excess can be slightly noticeable so that is why I recommended a close cut.
 Dragon fly flourish:
Be certain to write down the steps along the way of the blog hop, because you will need to incorporate them into your layout to be eligible for the overall prize! Speaking of prizes, take a peak at the grand prize:
To be eligible for the prize you must incorporate the sketch and five additional steps from the hop. The order of the hop is as follows:
Karen: http://fablady.blogspot.com
Becky: http://manyminimemories.blogspot.com/
Lisa: http://theshabbyhorse.blogspot.com/
Anna C: http://picturesnpapers.blogspot.com/
Jessie: http://disasterouscrafting.blogspot.com/
Stacey: http://ohschwietscrap.blogspot.com/
Andrea: http://dreasscrapsofinspiration.blogspot.com/
Traci: http://scrapsofwhimsy.blogspot.com/
Lili: http://pagesintimestoresite.ning.com/profiles/blogs/pages-in-time-interactive-blog
Finally, you will need to upload your completed layout at Pages In Time. If you are not already a member, you will need to become one. Once you are there, you will find a Forum entitled “June 30 – July 6 Thursday Sketch”. You will have until midnight on July 6th to upload your layout. All layouts that are based upon the sketch and have incorporated at least five of the steps from the blog hop will be eligible for the prize. A winner will be chosen by the Pages In Time Design Team.
You can earn two extra votes!!! If you follow all the blogs listed in the hop and leave a comment on each blog, you will be eligible for an extra vote. You can also earn an extra vote if you incorporate the step listed at each stop in your layout. That means, if you do your layout based on the sketch and include all of the steps, you get an extra vote! Be sure to stop by the forum to see my completed page.
One more surprise!!! I am offering a personal RAK to a random person that is a follower of my blog, leaves a comment, and loads a completed page at Pages in Time. This RAK will include the items needed to make faux bling PLUS a few pieces of faux bling made by yours truly.
Now hop on over to Andrea's Blog to get the next step. Get to collecting those steps. I look forward to seeing what you make and you can check out my completed page in the forum at Pages In Time. But in the mean time here's a few close-ups plus some hints at the remaining steps!!!!


Thanks for hopping by....


Well that was really need. I never would have thought of doing it this way - I'm messy and just have to deal with it - but this is such a great idea! I can't wait to try it. Oh, and the blog before doesn't have anything about the hop. I wasn't sure where to comment.
ReplyDeleteNever knew you could make your own bling, will have to give this a try. Thanks for the ideas and tips!!
ReplyDeleteWhat a great idea for making your own bling and a great way to save money!
ReplyDeleteThat's exactly how I made my bling too. Another trick is to use sandpaper lightly along the surface of your transparency so that they don't pop off later.
ReplyDeleteYour faux bling is beautiful Stacey! Looks like Jessie's blog failed to post, so I am glad people are still making it here!
ReplyDeleteOMG just one word beautiful. I love bling.
ReplyDeleteGreat technique! Beautiful layotu!
ReplyDeleteI love this. I've wanted to use bling swirls but didn't know how to make them. Thanks for the tut.
ReplyDeleteI love homemade bling! Great hop.
ReplyDeleteI love this idea, this was one of my favorite steps!
ReplyDeleteI have done this using Stickles and Liquid Pearls, which should solve the acid free issue.
ReplyDeleteWonderful layout! I'm following your blog, hope you can visit mine at www.scrapdiva-tina.blogspot.com
I love making my own flourishes but your tutorial totally ROCKS! thanks for sharing! I'm now a follower of your blog! :)
ReplyDelete~Amarilys
Stacey you are so creative, I just love how talented you are, your layout's always rock, love it all, super great tutorial and thanks for your support always!!! PS I couldn't do the florishes, its that I have no steady pulse, your tutorial rocked, but my hand rocked and rolled more, lol, but I will def try until I master it, and post it so you can see!!!
ReplyDeleteYour blogs are so full of info. Now a follower on this blog too. HOpe you will come over to my new blog at www.kristinkottwitz.blogspot.com and follow me and enter to win the blog candy!
ReplyDelete